


Recommended Services


Supported Scripts
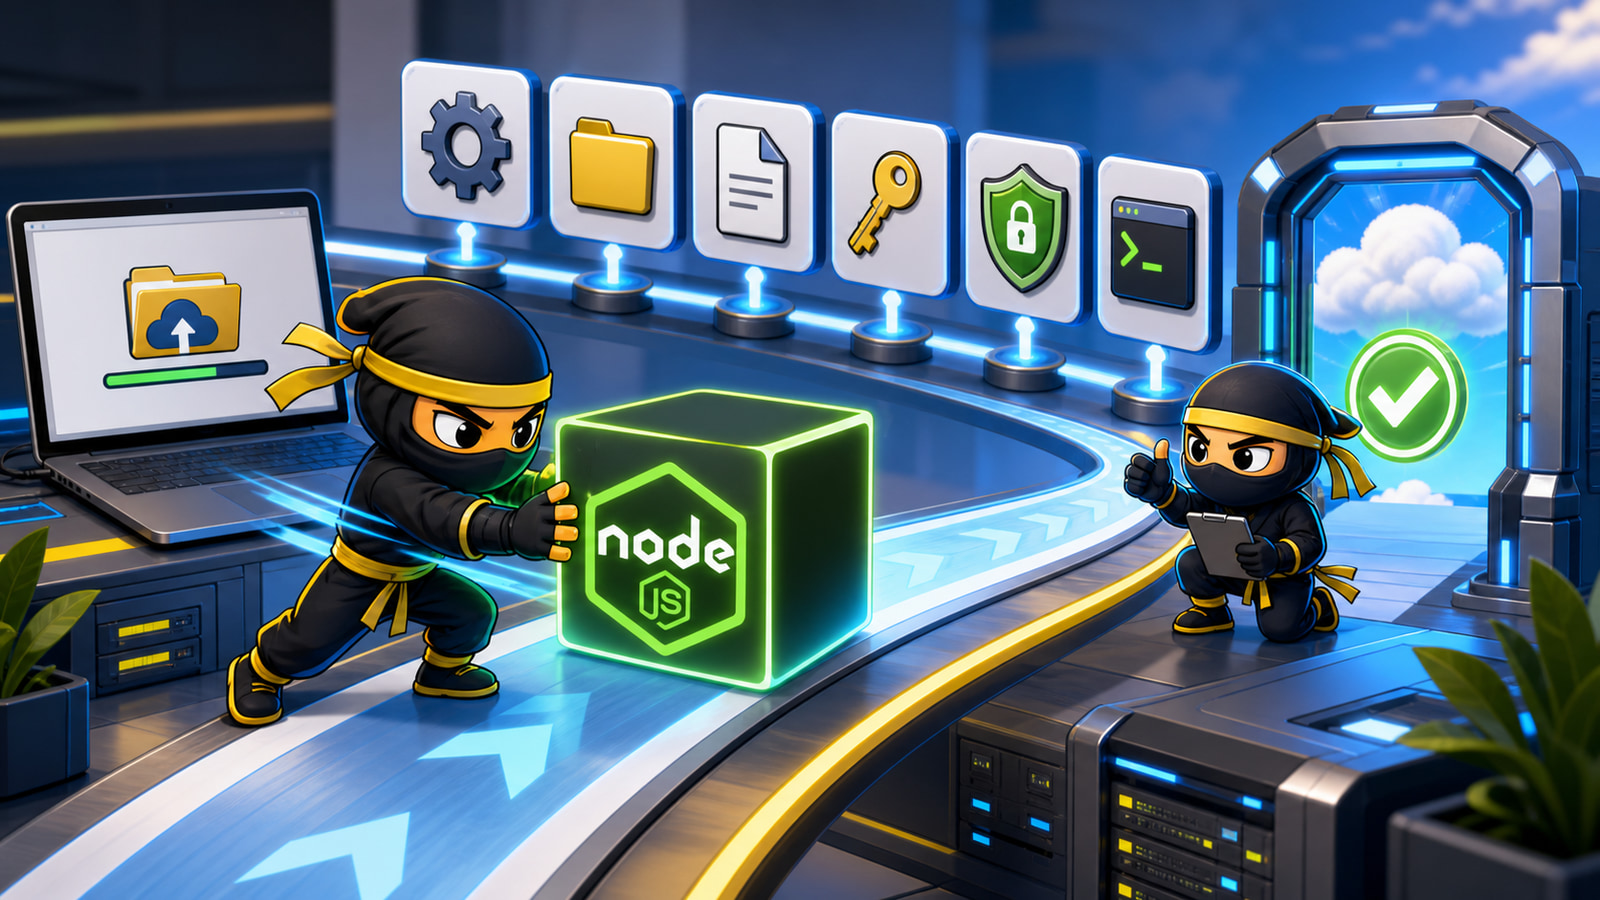

A Node.js app from cPanel should be treated like a small launch process, not like a normal file upload. The app may have only a few files, but the host still needs to know which Node.js version to use, where the app root lives, which file starts the server, which variables belong in production, and how the public domain should reach it.
This walkthrough is for the practical moment where the app already exists and needs to go live on managed hosting. It keeps the work inside the hosting panel, avoids unnecessary VPS language, and focuses on what a business owner or junior developer needs to get right before calling the app live.
If NinjaWeb is handling the setup, the service path is NodeJS hosting first: configure the app, test the public URL, read the logs, and only talk about deeper server control if the app actually needs it.
Before You Open The Upload Screen
Do one small audit before touching cPanel. Check that the project has a clear package.json, a known startup file or script, and no private secrets hard-coded into public code. If the app only runs because the developer remembers a terminal command, write that command down before the upload starts.
The useful notes are simple: Node.js version, app folder, startup file, install command, build command if there is one, and required environment variables. This is not paperwork for its own sake. These notes stop the upload turning into guesswork when the first error appears.
- Find the file that starts the app, such as
server.js,app.jsor an npm script. - Check whether the app declares a Node.js version in
package.json. - List required variables such as
APP_ENV,DATABASE_URLor API keys.
Create The Node.js App Entry In cPanel
Inside cPanel, the Node.js app tool usually asks for the runtime version, application root, application URL and startup file. These are not decorative fields. They decide what the host will run and which public address will reach it.
Choose the runtime version from the app notes, not from habit. If the app was built on one version and the hosting tool starts another, the error may look like a broken package, a failed route or a blank response. The runtime is the floor under the whole deployment.
The application URL should match the final path you want users to open. If the app belongs on a subdomain, set that deliberately. If it belongs under a path, make sure the app itself can handle that path. Do not rely on a browser redirect to hide routing mistakes.
Upload The App Into The Right Root
The app root is where the hosting tool expects the project to live. This is not always public_html. A Node.js project often needs private code, config files and dependencies outside the public web path, while static assets may live in a public folder inside the app.
Upload the project into the folder you selected as the app root. Keep the structure intact. If package.json lives in the wrong folder after upload, the host may install dependencies in the wrong place or fail to start the app entirely.
A clean folder structure is easier to support later. It should be obvious where the app lives, where public assets live, and which files should not be edited through a quick hosting-panel guess.
Install, Add Variables, Then Restart
After the files are in place, install dependencies from the hosting environment. A local node_modules folder does not prove the host can run the app. The host needs its own install result, with errors visible if a package fails.
Next, add production environment variables. This is where many uploads fail quietly. The app may start, but login, database access, email, payments or third-party API calls can fail because the production values were never added.
Restart the app after dependency and variable changes. Then watch the startup result. A restart is not just a button; it is the moment where the host tells you whether it can actually run the app with the settings you gave it.
Test The Public URL Like A Real User
Do not finish the job inside the hosting panel. Open the real domain over HTTPS and use the app like a visitor, client or staff member would. A green status in cPanel is useful, but it does not prove the public path, SSL, forms, sessions or API calls are working.
If the app has a login, test login. If it sends a form, submit the form. If it talks to an API, trigger the feature that uses the API. Then check logs. The first public test should produce evidence, not just a feeling that the page loaded.
This is where app development and hosting meet. The live behaviour is the product, not the upload itself.
Know When cPanel Is Enough
Managed NodeJS hosting is enough for many small dashboards, portals, tools, prototypes and service apps. If the app has a clear startup path, modest traffic, normal environment variables and no custom background services, keeping it managed can be the cleanest option.
A VPS becomes relevant when the app needs custom services, special workers, unusual ports, more isolation, heavier traffic or server-level control the panel cannot provide safely. That is a business decision as much as a technical one.
NinjaWeb can help make that call. Start with the app’s real needs, test the managed setup properly, and only move toward VPS hosting when the app has outgrown simple hosting for a clear reason.